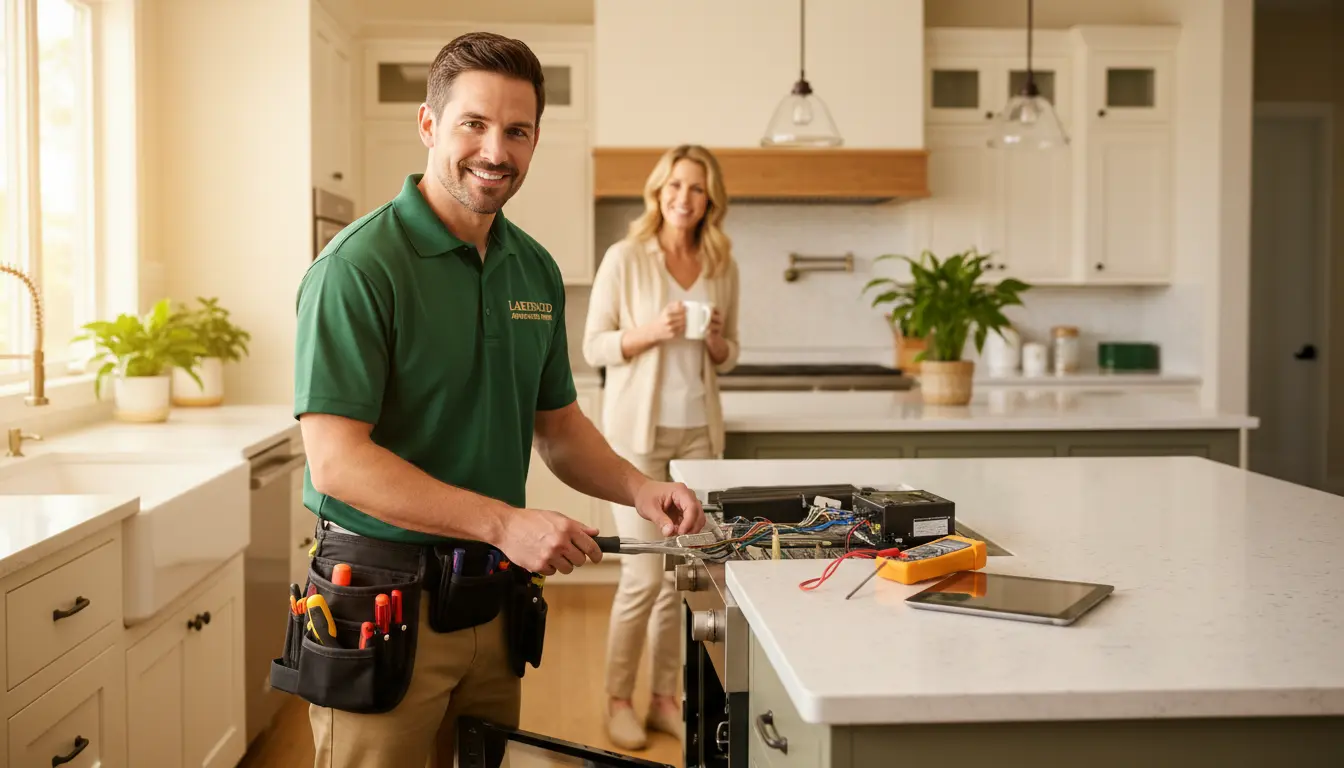
Most homeowners assume a standing pool of water in their dishwasher means a clogged filter or a busted pump—but in many cases, the real culprit is something far more subtle: a failed check valve or a control board logic error. While these issues can trigger a no-drain situation, the common advice to simply clean the filter or run a vinegar cycle often misses the underlying electromechanical fault that requires precision diagnostics. In Lakewood, Washington, where hard water and high humidity accelerate mineral buildup and moisture-related failures, a deeper understanding of dishwasher drainage mechanisms is essential for effective repair.
This guide walks you through the complete diagnostic and repair workflow for a dishwasher that won’t drain, from initial multimeter checks to component replacement. We focus on professional-grade methods that address the specific environmental challenges of the Pacific Northwest—such as thermal degradation of seals and scale accumulation in drain pumps—and highlight why factory-certified service from Lakewood Appliance Repair is the most reliable path to restoring your appliance’s performance.
Diagnosing the Drain Failure: The Professional Workflow
Before reaching for a wrench or a bottle of drain cleaner, a certified technician follows a systematic process to isolate the fault. The goal is to distinguish between a simple obstruction and a component failure that could worsen with improper handling. Begin by disconnecting power and removing the bottom rack to access the sump area. Use a digital multimeter set to resistance (ohms) to check the drain pump motor winding—most should read between 10 and 100 ohms. An open circuit or infinite reading indicates a burned-out motor winding, which cannot be repaired and requires pump replacement.
Next, inspect the check valve or one-way flap inside the drain hose connection. If it is stuck open or debris prevents it from closing, water may drain freely but then backflow into the tub. In Lakewood’s hard water environment, calcium deposits often glue the flap in the open position, causing intermittent drainage issues. Use a multimeter’s continuity function to verify the control board sends power to the pump during the drain cycle. If voltage is present but the pump does not run, the pump is defective; if no voltage, the control board or wiring harness is faulty. This approach prevents replacement of parts that are still functional.
Step-by-Step Repair: Clearing Clogs and Replacing Components
If the pump and check valve pass electrical tests, the likely cause is a physical clog in the drain line or the garbage disposal connection. Many Lakewood homes have dishwashers connected to a disposal unit; a knockout plug left intact can block flow. Remove the drain hose from the disposal and check for obstructions. Use a wet/dry vacuum to suck out debris from the hose and sump. Avoid chemical drain cleaners—they degrade rubber seals and plastic components, leading to leaks that require more extensive repair.
For a defective drain pump, replacement is straightforward: disconnect the wiring harness, remove the mounting screws, and install a new OEM pump. Always source factory-authorized parts to ensure proper fit and longevity—aftermarket pumps often have inconsistent impeller sizes that reduce drainage efficiency. Reassemble and run a test cycle with a vinegar and hot water mixture to dissolve any remaining scale. In high-humidity areas like Lakewood, residual moisture in the control board cavity can cause intermittent faults; after repair, use a contact cleaner to prevent corrosion on electrical connectors.
Component-Level Repair vs. Sub-Assembly Replacement: A Data Comparison
When deciding between repairing an individual component (e.g., replacing a pump motor winding) versus swapping the entire sub-assembly (e.g., the drain pump module), professional technicians weigh multiple factors. The table below summarizes key metrics based on NASTeC recommendations.
| Feature/Metric | Professional Component-Level Repair | Complete Sub-Assembly Replacement |
|---|---|---|
| Diagnostic Time | 25–40 minutes (precision isolation) | 10–15 minutes (visual inspection) |
| Part Longevity | Variable (depends on repair quality) | 80–120 months (factory matched) |
| Structural Cost | $45–90 (parts + labor for rewinding) | $120–250 (new assembly + labor) |
In practice, component-level repair is rarely performed on drain pumps because the sealed nature of modern units makes motor rewinding impractical. For most homeowners in Lakewood, sub-assembly replacement with an OEM part offers the best balance of reliability and cost, especially given the moisture and mineral stresses that shorten component life.
Expert Insights: Advanced Diagnostic Tips
1. Check voltage drop at the terminal block. During the drain cycle, measure voltage at the pump while it is under load. A drop of more than 10% indicates high resistance in wiring or a failing electronic control board (ECB). In Lakewood, corroded terminals due to humidity are a common source of voltage drop—clean them with a dielectric grease to prevent recurrence.
2. Test the drain pump capacitor using the resistance scale. Many dishwasher pumps use a run capacitor to start the motor. Use a multimeter with a capacitance setting; a reading outside ±10% of the rated value means replacement is needed. A failing capacitor can mimic a dead pump when the motor struggles to start.
3. Monitor the drain cycle sequence with a service manual. Dishwashers with electronic timers follow a precise code. If the control board fails to initiate the drain after the wash cycle, the problem is likely a logic fault on the ECB. Reset the dishwasher by unplugging it for 5 minutes; if the issue persists, the board must be reflashed or replaced.
Common Mistakes Homeowners Make
Using chemical drain cleaners. These harsh agents attack rubber seals and plastic sump components, causing leaks and premature failure. Instead, physically remove debris and use a vinegar rinse for descaling.
Ignoring a humming pump. A pump that hums but doesn’t spin is often seized due to mineral buildup or a defective capacitor. Continuing to run the dishwasher will burn out the motor winding, turning a $30 repair into a $200 replacement.
Overloading the dishwasher. Even modern units have drain pump limits. Large food particles from overloaded racks can block the check valve, leading to incomplete drainage. Always scrape plates before loading and run the garbage disposal first to clear the line.
Pricing Structure for Professional Drain Repair
- Standard diagnostic fee: $75–$125 (includes multimeter testing and visual inspection)
- Basic mechanical clear-out (clog removal, filter cleaning): $80–$150
- Drain pump assembly replacement (parts + labor): $200–$350
- Control board repair or replacement: $150–$400 (plus potential ECU flashing)
Costs vary based on three main factors: OEM parts sourcing (luxury brands like Bosch or Miele cost more), accessibility of the appliance (built-in units may require partial cabinet disassembly), and any required ECM programming (common in smart dishwashers). For most Lakewood homes, a standard repair runs between $150 and $300 when performed by a certified technician.
Safety Standards and Certification Requirements
All professional repairs must adhere to OSHA electrical safety guidelines, including locking out power before servicing and using insulated tools. Technicians should hold NASTeC or equivalent certification, ensuring they are trained in the latest diagnostic protocols. For dishwashers with integral water heaters, scale accumulation can cause overheating—thermistors must be checked for resistance drift. In homes with older wiring, improper grounding can lead to electric shock; verifying the appliance’s ground continuity is non-negotiable.
Using factory-authorized OEM parts maintains warranty compliance and ensures the appliance meets UL safety requirements. In Lakewood, where humidity accelerates corrosion, applying anti-oxidant compounds to connectors prevents future callbacks. Always follow the manufacturer’s service manual for torque specifications on bolts to avoid stress fractures in plastic sumps.
Frequently Asked Questions
Why is my dishwasher leaving a puddle of water after a cycle?
This is most often caused by a blocked drain hose or a faulty check valve. First, check the filter and sump for debris—if clear, inspect the drain hose for kinks or clogs. If water still remains, the drain pump may have a failed impeller or motor. Use a multimeter to verify electrical continuity; if the pump is dead, replace it. In Lakewood, mineral scale buildup can also jam the check valve open—soak it in vinegar to dissolve deposits.
Can I replace the drain pump myself?
Yes, if you have moderate mechanical skills and a multimeter. However, misdiagnosis is common; many homeowners replace a functional pump only to find the control board was at fault. Professional diagnostic testing ensures you replace the correct component. If you choose DIY, always disconnect power and discharge capacitors before handling electronics. Use OEM parts to avoid fitment issues and premature failure.
How often should I clean my dishwasher’s drain filter?
At least once a month, especially in hard-water areas like Lakewood. A clogged filter restricts water flow, forcing the pump to work harder and risk overheating. Additionally, run a cleaning cycle with a dishwasher cleaner quarterly to remove grease and mineral deposits that can accumulate in the drain path.
What is the most common cause of a dishwasher not draining in the Pacific Northwest?
Two-fold: hard water scale accumulation in the pump volute and drain hose, and humidity-induced corrosion on the pump motor terminals. The wet environment accelerates oxidation, leading to poor electrical connections. Regular descaling treatments and adding a terminal protective spray during repairs can extend component life significantly.
When should I call a professional instead of attempting a repair?
If you’ve checked the filter and drain hose and the problem persists, or if you suspect an electrical fault (e.g., error codes, sparking, tripped breaker), call a certified technician. Additionally, if your dishwasher is a high-end brand (Bosch, Miele) or has a touch control panel, DIY repairs can void the warranty and damage sensitive electronics. Lakewood Appliance Repair technicians have the specialized tools and OEM parts to handle these safely.
Professional Appliance Care in Lakewood
Maintaining a properly draining dishwasher is about more than convenience—it protects your home from water damage and extends the life of the appliance. Lakewood’s unique climate demands proactive measures: monthly filter cleaning, quarterly descaling, and annual professional inspection of pumps and seals. By partnering with a factory-certified service provider, you ensure repairs are performed to the highest safety and quality standards—saving time and money in the long run.
If your dishwasher is struggling to drain, don’t let it become a costly emergency. Trust the experts at Lakewood Appliance Repair to diagnose and fix the issue quickly. Our technicians are trained in the latest diagnostic protocols and carry OEM parts for all major brands. Contact us today to schedule a service call and restore your dishwasher to peak performance.