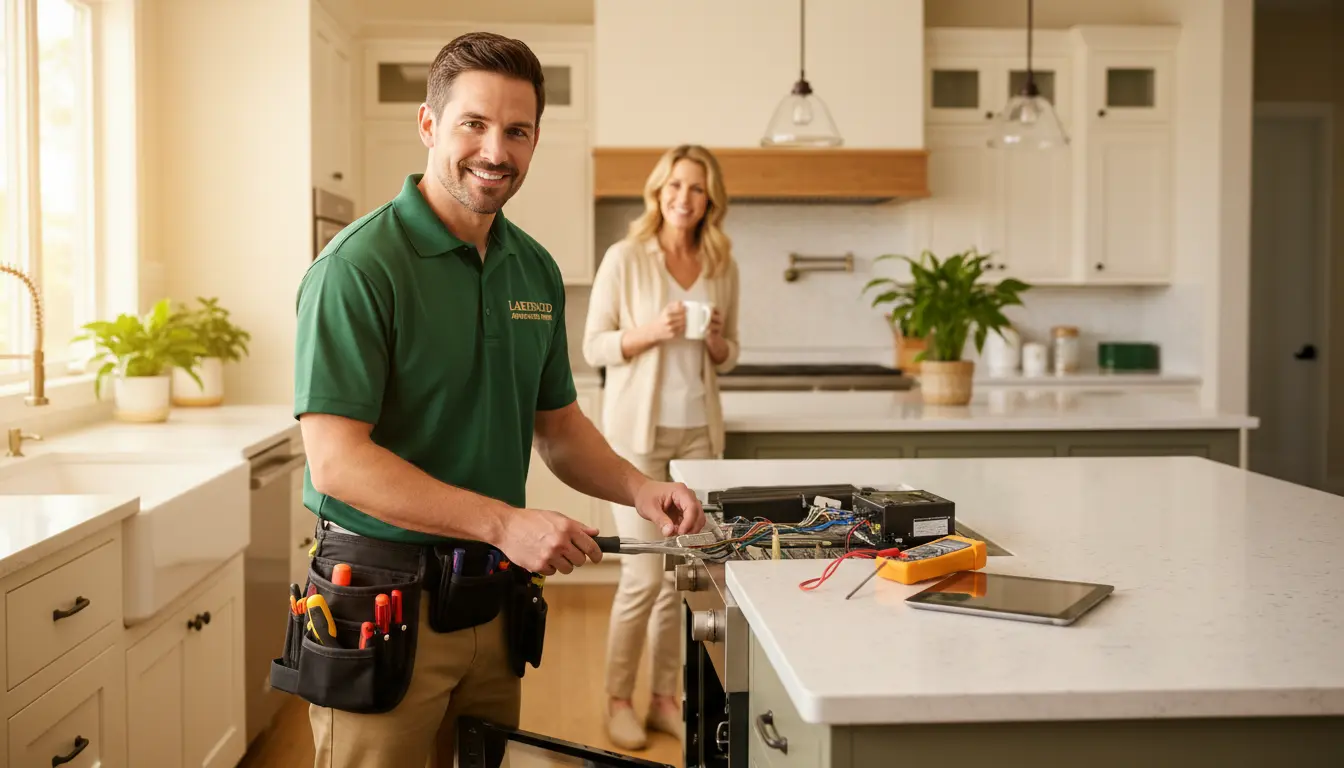
Most homeowners assume that when their oven or stove stops working, the problem is catastrophic and requires an expensive replacement. In reality, the vast majority of common oven and stove problems are caused by relatively simple component failures that a skilled technician can resolve in under an hour. The counter-intuitive truth is that many of these failures are not random acts of wear and tear, but predictable outcomes of specific environmental and usage patterns, especially in regions like the Pacific Northwest. Understanding what actually goes wrong and how professionals diagnose these issues can save you hundreds of dollars and unnecessary appliance replacements.
In Lakewood, Washington, the unique combination of high humidity, seasonal temperature swings, and the mineral content of municipal water creates a specific set of challenges for kitchen appliances. Moisture infiltration accelerates corrosion on control board contacts, while hard water scale can silently degrade heating element performance. When confronted with a non-functional oven or a stove burner that refuses to ignite, the first instinct for many is to search for a quick fix online, but the most effective path is to understand the underlying electromechanical principles. This article will walk you through the most frequent failures, the exact diagnostic procedures technicians employ, and why professional intervention through services like professional oven repair in Lakewood is often the most cost-effective solution.
The Most Common Oven Failures and Their Root Causes
Oven malfunctions typically fall into one of three categories: temperature irregularities, ignition failures, or power supply issues. The most frequent complaint is that the oven does not heat to the set temperature, or that it heats unevenly. Technicians begin by isolating the problem to either the control system or the heating circuit. In electric ovens, this means checking the bake and broil elements for continuity using a digital multimeter. A simple break in the element, often caused by thermal cycling fatigue, will show an open circuit, and the fix is a straightforward replacement of the element.
For gas ovens, the issue often lies with the igniter. A common misconception is that a glowing igniter is a functioning one. In reality, an igniter that glows but does not open the gas valve is drawing insufficient current. This is a classic sign of a degrading igniter that has increased in resistance over time. A technician will measure the current draw with a clamp-on ammeter; if it falls below the manufacturer’s specified range, the igniter must be replaced. Ignoring this and attempting to manually light the oven can lead to gas buildup and a dangerous flash fire. In Lakewood’s damp climate, moisture can also cause intermittent issues with the oven’s electronic control board, leading to erratic temperature behavior or complete lockouts.
Stove Top Problems: From Burners to Control Knobs
Stove top issues are equally varied and often misdiagnosed. On electric coil and smooth-top ranges, the most common problem is a burner that fails to heat or only heats on certain settings. The culprit is frequently the infinite switch, a mechanical device that regulates power to the burner. Over time, the internal contacts can arc and carbonize, leading to failure. A technician tests the switch by checking for voltage across its terminals with the burner on. Replacing an infinite switch requires careful disassembly and wiring verification to avoid short circuits.
Gas Burner Ignition Problems
Gas stove tops rely on a spark ignition system. When a burner fails to light, the issue is often a dirty or misaligned electrode, a cracked spark module, or a blocked gas port. Homeowners frequently try to clean the burner cap, but the real problem is often a fractured spark wire or a corroded electrode tip. In Lakewood’s high-moisture environment, these electrodes can accumulate a layer of oxide that prevents a strong spark. A technician will use a spark tester to verify the module’s output and physically inspect the electrode gap and ceramic insulation. Simply replacing the electrode assembly often restores normal operation.
Another stove top issue, particularly with glass ceramic induction models, is a burner that shuts off intermittently. This is almost always a safety feature triggered by overheating or a pan detection sensor failure. Technicians use a multimeter to check the thermistor resistance and the control board’s logic signals. On induction cooktops, a faulty power board can cause a single zone to fail, and the repair involves board-level diagnostics to identify a blown IGBT transistor or a failed capacitor.
How Technicians Diagnose and Fix These Problems
The professional repair process is methodical and rooted in electrical theory. A certified technician begins with a visual inspection for obvious damage like burned wires, cracked control boards, or signs of moisture ingress. Next, they perform a series of electrical tests using calibrated instruments. A digital multimeter is used to verify voltage at the appliance’s terminal block, ensuring the home’s circuit breaker and wiring are functional. Then, they isolate the suspected component—be it a heating element, igniter, switch, or control board—and test it for continuity or resistance within manufacturer specifications.
For electronic control boards, technicians may use specialized diagnostic software to read error codes stored in the board’s memory. This is particularly useful for modern ovens with complex microprocessors. In cases of intermittent failures, they might perform a “wiggle test” on wiring harnesses to identify loose connections. Environmental factors in Lakewood, such as high humidity, often lead to corrosion on board-level connectors. A repair may involve cleaning contacts with isopropyl alcohol, replacing a relay, or, in severe cases, replacing the entire control board. After the repair, a full operational calibration is performed, including temperature verification with a thermocouple to ensure the oven cycles correctly.
Data Comparison: Component-Level Repair vs. Sub-Assembly Replacement
To understand the value of professional diagnosis, it’s useful to compare the two primary repair approaches: fixing the specific broken component versus swapping out an entire sub-assembly. The table below outlines the key differences based on industry standards.
| Feature/Metric | Professional Component-Level Repair | Complete Sub-Assembly Replacement |
|---|---|---|
| Diagnostic Time | 30–45 minutes (requires pinpoint testing) | 15–20 minutes (identifying faulty module) |
| Part Longevity | Matches original component life if OEM parts used | Varies; new assembly may have different failure points |
| Structural Cost | Lower (component cost + labor for precision work) | Higher (assembly cost + labor for removal/installation) |
| Skill Requirement | Advanced (soldering, board-level diagnostics) | Intermediate (disassembly and plug-and-play) |
This data shows that while sub-assembly replacement is faster, component-level repair often provides a more cost-effective solution for specific failures like a burned-out relay on a control board. However, it requires a higher level of technical expertise and access to OEM parts, which is why certified technicians are essential. For complex issues like those affecting stove top repair in Lakewood, a professional assessment ensures the most appropriate method is chosen.
Expert Insights: Advanced Diagnostic Tips for Homeowners
Experienced technicians rely on subtle clues to speed up diagnosis. Here are three advanced tips that can help you understand what your appliance is telling you.
Tip 1: Check Voltage Drop at the Terminal Block. If your oven or stove is partially working, such as having lights but no heat, the issue may not be the appliance itself. A loose or corroded connection at your home’s electrical panel or the appliance’s terminal block can cause a voltage drop under load. Using a multimeter to measure voltage at the terminal block while the oven is running can reveal a drop below 230V for a 240V circuit. This indicates a wiring problem upstream, which an electrician must fix before any appliance repair.
Tip 2: Listen for Clicking Sounds. On gas stoves, a rapid clicking sound without ignition usually points to a dirty burner cap or a weak spark module. However, a single click followed by silence often indicates a defective spark igniter module that has failed internally. On electric ovens, a clicking sound from the control board may be a failing relay. This is a critical early warning sign; ignoring it can lead to the relay welding shut, causing the heating element to stay on continuously and creating a fire hazard.
Tip 3: Test the Thermal Fuse Before Replacing the Oven. Many electric ovens have a thermal fuse that blows if the oven overheats. This is a simple, inexpensive part that can cause a no-heat condition. Technicians test it for continuity with a multimeter. If it’s open, replacing the fuse might fix the problem, but it’s also essential to identify why it blew—such as a stuck oven door seal or a failing cooling fan—to prevent a recurrence. For a deeper dive into these issues, you can read more about why your oven isn’t heating and quick fixes for locals.
Common Mistakes Homeowners Make
One of the most common mistakes is using chemical drain cleaners on clogged gas burner ports. These chemicals can damage the internal seals and valve assemblies, leading to gas leaks. Another frequent error is overloading the stove top with heavy cookware, which can crack the glass ceramic surface on induction or electric smooth-top ranges. Finally, many homeowners ignore the importance of cleaning the oven’s internal cooling fan. When dust and debris accumulate, the fan can fail, causing the oven to overheat and trip its thermal fuse. A simple quarterly cleaning of the fan area can prevent this.
Pricing: What to Expect for Oven and Stove Repairs
Understanding the cost structure helps you make informed decisions. Most service calls in the Lakewood area include a standard diagnostic trip fee, which typically ranges from $75 to $125. This fee covers the technician’s time to travel and perform the initial assessment. If you choose to proceed with the repair, that fee is often applied to the total labor cost.
- Diagnostic trip fee: $75–$125, covers initial inspection and testing.
- Heating element replacement (electric oven): $150–$300, including OEM part and labor.
- Igniter replacement (gas oven): $200–$350, including part and calibration.
- Infinite switch replacement (electric stove): $100–$200 per switch, plus labor.
- Electronic control board repair or replacement: $250–$600, depending on board complexity and programming requirements.
Several factors influence the final cost. First, the need for premium OEM parts, especially for luxury brands like Wolf or Viking, can significantly increase parts costs. Second, the physical accessibility of the appliance plays a role; a built-in oven that requires cabinet removal adds labor time. Third, advanced repairs like sealed system work on gas ovens with convection fans require specialized tools and training, which is reflected in the labor rate. For a broader perspective on appliance costs, you can refer to this statistical breakdown of common appliance failures in WA.
Safety and Standards: Why Certification Matters
Safety is non-negotiable when dealing with high-voltage and gas appliances. Certified technicians adhere to strict protocols that protect both themselves and your home. For gas appliances, this includes leak testing every connection with a soap solution or an electronic gas detector after any repair. For electric appliances, proper lockout/tagout procedures are followed to prevent accidental energization. Technicians with EPA Section 608 certification are required for handling refrigerants in any appliance, and NASTeC certification ensures a baseline of competency in diagnostic and repair techniques.
Using factory-authorized OEM replacement parts is another critical safety standard. Third-party parts may not meet the same electrical or thermal specifications, leading to premature failure or, in worst cases, electrical arcing and fires. Additionally, proper grounding is verified using a ground resistance tester. In Lakewood’s older homes, outdated wiring can be a hidden hazard. A professional technician will identify and report these issues, advising you to consult a licensed electrician before proceeding with the appliance repair. This thoroughness is what distinguishes a reliable service from a stopgap fix.
Frequently Asked Questions
Why is my oven not heating at all, even though the light comes on?
This classic symptom indicates that the oven is receiving power to its control board, but the heating circuit is broken. In electric ovens, the most likely cause is a failed bake element, a blown thermal fuse, or a defective control board. A technician will first check the bake element for continuity. If it’s open, replacement is straightforward. If the element is good, the thermal fuse is tested. A failed fuse must be replaced, and the cause of the overheating (like a stuck oven door seal) must be identified. On gas ovens, the igniter is the primary suspect; a glowing but weak igniter will not open the gas valve, resulting in no heat.
One of my gas stove burners won’t light. Can I clean it myself?
Cleaning the burner cap is a reasonable first step. Remove the cap and clean the ports with a needle or a soft brush. However, if this does not work, the problem is likely a faulty ignition electrode or a spark module. Attempting to disassemble the ignition system without proper training can damage the spark wire or the electrode’s ceramic insulator. A technician will test the spark module’s output voltage and inspect the electrode gap. In many cases, simply replacing the electrode assembly for that burner restores normal function. For a reliable solution, consider professional stove top repair in Lakewood.
How do I know if my oven’s temperature sensor is faulty?
An oven that heats inconsistently, runs much hotter or cooler than the set temperature, or fails to maintain temperature is likely suffering from a bad temperature sensor (thermistor). A technician will measure the sensor’s resistance at room temperature (typically 1000–1100 ohms for a common sensor) and compare it to the manufacturer’s specifications. They will also heat the oven and monitor the resistance change. A faulty sensor will show an open circuit, a short circuit, or an incorrect resistance curve. Replacing the sensor is a simple, low-cost fix that can restore precise temperature control.
Is it worth repairing an oven that is over 15 years old?
This depends on the specific failure and the appliance’s brand. For major brands with readily available parts, a single component failure like a heating element or igniter is almost always worth repairing. However, for a sealed system failure (on a gas oven) or a burnt-out control board on an older model, the repair cost may approach 50% of a new oven’s price. A technician can provide a cost-benefit analysis. In Lakewood, many older homes have built-in ovens that are difficult to replace with standard sizes, making repair the more practical option. For a free estimate, you can always contact us.
Professional Appliance Care in Lakewood
Maintaining your oven and stove is about more than just fixing a broken part; it is about preserving the efficiency and safety of your entire kitchen infrastructure. The high-moisture environment of the Pacific Northwest demands a proactive approach to appliance care, including regular cleaning of burner ports, checking for signs of corrosion, and scheduling annual professional inspections. By addressing small issues before they escalate, you can extend the lifespan of your appliances and avoid the inconvenience of a breakdown during a holiday meal.
Lakewood Appliance Repair, operating through Smart Fixes Team, brings factory-trained expertise to every job. Our technicians are certified, insured, and equipped with the latest diagnostic tools to handle everything from a simple igniter replacement to a complex control board repair. We understand the specific challenges that Lakewood homeowners face, from hard water scale to humidity-induced failures. Whether you need oven repair in Lakewood or a comprehensive stove top fix, we are your trusted local partner. Don’t let a small problem become a major expense; rely on the professionals who know your appliances and your environment.