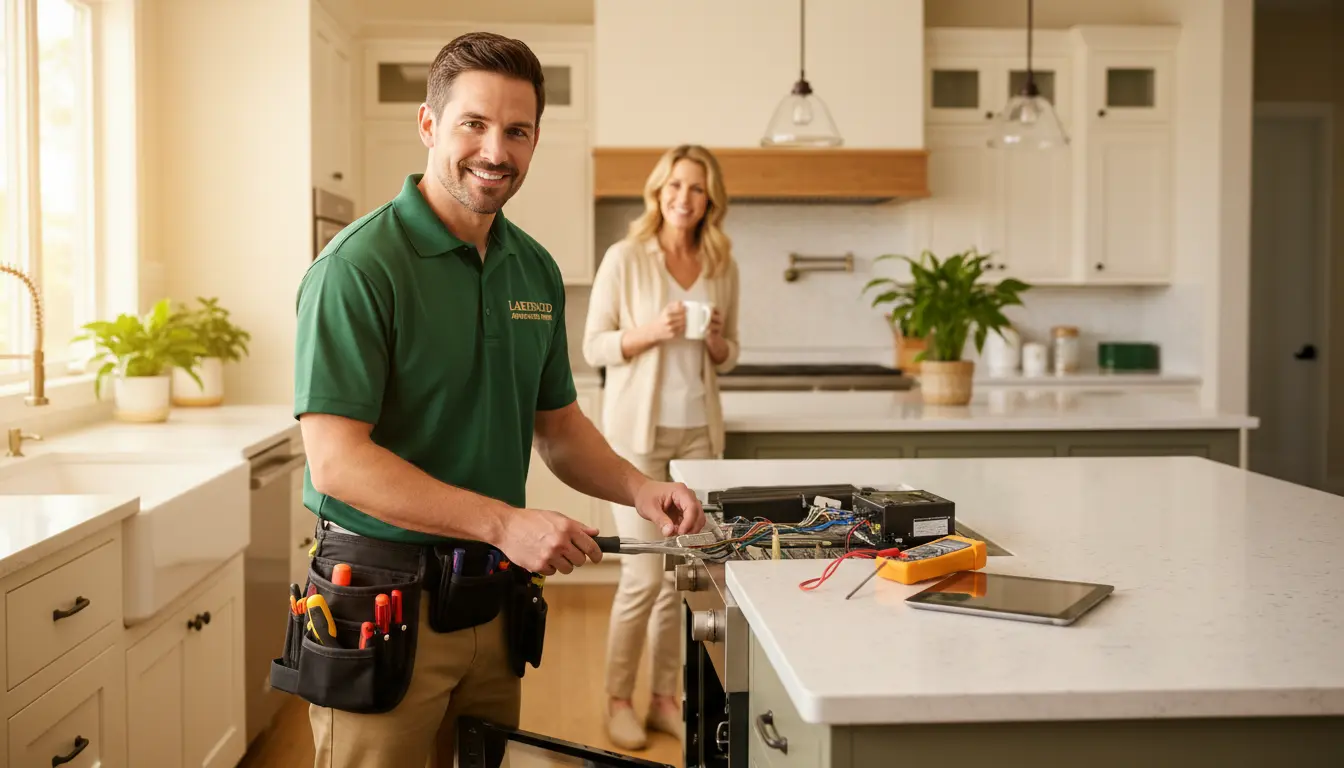
Mark’s refrigerator stopped cooling in the middle of a humid August afternoon in Lakewood. The temperature inside climbed past 50°F within hours. He frantically searched online for “How to choose a trusted appliance repair company near me in Lakewood” and found dozens of listings, each promising same-day service, factory-certified technicians, and affordable rates. But without a clear way to separate legitimate professionals from weekend handymen, Mark hesitated. He knew that the wrong choice could cost him more than just a spoiled grocery bill—it could lead to further damage to his sealed system or even void the remaining warranty on his five-year-old Samsung.
This scenario is all too common in the Pacific Northwest, where high humidity, mineral-laden municipal water, and seasonal pollen loads accelerate wear on home appliances. In Lakewood, opting for a certified, experienced repair service isn’t just convenient—it’s a necessity for protecting your investment. The goal of this guide is to give you a technician’s framework for evaluating repair companies so you can make an informed decision the moment your dryer stops heating or your dishwasher refuses to drain.
Throughout this article, we’ll walk through the specific diagnostic workflow a professional should follow, compare repair strategies, expose common homeowner mistakes, and explain the safety standards that separate reliable contractors from unqualified operators. By the end, you’ll know exactly what to look for when you need help—and why choosing a reliable appliance repair company in Lakewood starts with understanding the technical process behind every service call.
The Technical Diagnostic Process: What a Trusted Technician Does First
A professional appliance repair begins long before any tools touch the unit. The first step is a thorough visual inspection of the appliance and its surroundings. In Lakewood homes, this often reveals moisture damage around the base of refrigerators or dishwashers, indicating condensation or slow leaks that can corrode electrical connections. The technician should also check for unusual odors, listen for abnormal sounds (like a clicking compressor relay or a grinding drum bearing), and confirm the unit is level and properly ventilated.
Once the initial inspection is complete, the technician moves to systematic electrical testing using a digital multi-meter (DMM) and a clamp-on ammeter. For example, on a refrigerator that isn’t cooling, the technician will measure resistance across the start relay, the compressor windings, and the overload protector. A reading outside the manufacturer’s specification—typically 4–6 ohms for the compressor run winding—points to a failed component rather than a control board issue. This method of component-level isolation saves homeowners from unnecessary replacement of expensive electronic modules.
Local environmental factors play a major role in these diagnostics. In Lakewood, high humidity can cause circuit board corrosion, leading to intermittent failures that are easy to misdiagnose. A technician trained in the region will often use a contact cleaner and dielectric grease on connectors after testing, a practice that prevents repeat callbacks. Similarly, for dishwashers, mineral scale accumulation from Lakewood’s hard water (typically around 120–150 ppm calcium carbonate) can clog the wash arm bearings and restrict water flow. A professional will perform a descaling calibration as part of the service, extending the life of the pump and heating element.
Data Comparison: Component-Level Repair vs. Sub-Assembly Replacement
Every homeowner eventually faces a choice when a major appliance breaks down: should the technician replace the entire sub-assembly (e.g., the whole motor or control board) or perform a component-level repair (e.g., replacing just the relay or capacitor)? The answer depends on cost, part availability, and long-term reliability. The table below compares the two approaches based on NASTeC standards.
| Feature / Metric | Professional Component-Level Repair | Complete Sub-Assembly Replacement |
|---|---|---|
| Diagnostic Time | 30–45 minutes; requires precise ohm testing and schematic analysis | 15–20 minutes; focuses on identifying the faulty assembly |
| Part Longevity | Depends on the individual component; often matches original lifespan if OEM quality is used | Typically equivalent to OEM lifespan; new assembly may have updated design |
| Structural Cost | Lower parts cost (e.g., $15–$30 for a relay vs. $150–$300 for a control board); labor is higher | Higher parts cost; labor is lower due to simpler swap |
| Failure Risk After Repair | Low if the technician has correctly isolated the root cause; moderate if other components are stressed | Very low if the assembly is the only failed part; moderate if causing damage to other systems |
| Warranty Impact | May not void warranty if performed according to manufacturer spec; check OEM policy | Usually maintains warranty when using OEM assembly |
For most Lakewood households, component-level repair is the more cost-effective route, especially for refrigerators and washing machines where the sealed system or drum bearings are often the only failed parts. However, when the entire assembly is prone to future failure (e.g., a control board from a known defective batch), replacement is the wiser choice. A trusted technician will explain these trade-offs transparently.
Expert Insights: Advanced Diagnostic Tips and Common Mistakes
Three Professional Diagnostic Tips
Tip 1: Check voltage drop at the terminal block. Many appliance failures trace back to poor connections at the wall outlet or the unit’s terminal block. A technician should measure voltage under load using a clamp-on ammeter. A drop of more than 5% from the nominal 120V indicates a loose neutral or high-resistance splice, which can cause intermittent operation and component damage. In Lakewood, older homes with aluminum wiring or ungrounded outlets are common, making this test essential.
Tip 2: Adhere to condenser coil cleaning schedules based on regional dust levels. Lakewood’s pollen season (April–June) and nearby construction dust can clog refrigerator condenser coils in as little as three months. A professional will measure the temperature differential across the coil using a thermocouple; a delta of more than 20°F above ambient indicates a need for cleaning. Proactive maintenance here prevents the compressor from overheating and failing prematurely.
Tip 3: Use the resistance scale to test thermal fuses on dryers. A blown thermal fuse is a common cause of no-heat problems, but it can also be a symptom of poor airflow. Instead of simply replacing the fuse, a technician should measure the resistance of the heating element and the cycling thermostat. A low resistance on the element (e.g., 10 ohms) with a blown fuse suggests the fuse was doing its job protecting against overheating, meaning the vent system needs cleaning. Pair this with a DIY tip to extend dryer lifespan in humid Lakewood for best results.
Common Homeowner Mistakes with Serious Consequences
Mistake 1: Overloading a washing machine drum. Lakewood residents often try to wash bulky comforters or heavy denim loads in standard top-loaders. This overloads the drum bearings, causing them to wear asymmetrically. Over time, the bearing cage breaks, allowing the drum to rub against the outer tub. The result is a loud grinding noise, water leakage, and eventual total lockup requiring a complete bearing replacement—a $300–$500 repair.
Mistake 2: Using chemical drain cleaners in dishwashers. Products like Drano react with the rubber seals inside the dishwasher’s drain pump, causing them to swell and crack. The leak often goes unnoticed until water damages the floorboards or subfloor. A professional would instead use a shop vacuum and a manual clean of the filter and drain hose.
Mistake 3: Ignoring a refrigerator’s clicking cycle. A clicking sound every few seconds indicates the compressor relay is trying to engage but failing. Many homeowners ignore it until the compressor fails to start at all. The real cause is often a burned-out start relay or a failing capacitor. Replacing just the relay (a $20 part) can save the compressor, but if ignored, it can lead to a locked rotor and a full compressor replacement—a $600–$800 job.
Pricing Structures: What Factors Into the Cost of Repair
- Standard diagnostic trip fee: Most reputable companies charge a flat fee (typically $79–$129) to come to your home, perform the initial inspection, and provide a written estimate. This fee is often waived if you proceed with the repair. In Lakewood, expect a range on the lower end due to competition, but be wary of “free diagnostics” that may hide inflated parts costs.
- Tiered repair rates based on appliance complexity: Simple repairs like replacing a dryer belt or a dishwasher drain pump may be billed at a lower flat rate ($150–$250). Complex sealed-system work on refrigerators or freezers, which requires recovering refrigerant, brazing, and vacuuming, can run $400–$700. The technician’s skill level and the need for specialized equipment (e.g., a recovery machine) justify the higher fee.
- Flat-rate structural pricing for specific tasks: Some companies list fixed prices for common repairs, such as replacing a washing machine door latch ($180) or a microwave magnetron ($220). This benchmark helps you compare quotes. However, if the technician recommends a “complete control board replacement” for $500 without first testing individual components, consider it a red flag. A trustworthy company will break down the options.
Three factors that influence cost:
1. Premium luxury brand OEM parts sourcing – Brands like Sub-Zero, Wolf, or Miele require proprietary components that are significantly more expensive than generic equivalents. A technician should always use OEM parts to maintain warranty coverage and ensure proper fit, but this adds 20–40% to the parts cost.
2. Advanced electronic control module flashing – Modern appliances sometimes require reprogramming of the control board after replacement. This requires proprietary software and a laptop interface, adding $50–$100 to the labor.
3. Physical accessibility of custom built-in residential kitchen layouts – In Lakewood’s newer developments, many kitchens feature built-in refrigerators or dishwashers with tight cabinetry. Removing the appliance may require extra labor (e.g., moving trim, disconnecting countertops). This can add an hour or more to the service time.
Safety and Standards: Certifications, Protocols, and Compliance
When searching for a trusted appliance repair company, safety certifications are non-negotiable. The EPA’s Section 608 certification is required for any technician who handles refrigerants. Without it, they cannot legally purchase or recover R-134a or R-600a, which means they may cut corners or release refrigerant into the atmosphere—a violation of the Clean Air Act. In addition, NASTeC (National Appliance Service Technician Certification) provides a standardized test for diagnosing and repairing major appliances. A NASTeC-certified technician has demonstrated competence in electrical theory, mechanical systems, and safety protocols.
Electrical safety grounding protocols are another critical area. A technician should always verify that the appliance is connected to a properly grounded outlet before starting work. In Lakewood, many older homes still have two-prong outlets or ungrounded three-prong adapters. If a technician fails to check this, they risk electric shock or damage to the control board. They should also use a lockout/tagout procedure when working on hardwired ranges or dryers.
Frequently Asked Questions About Appliance Repair in Lakewood
How long does a typical appliance repair take?
Most single-component repairs, such as replacing a dryer thermostat or a dishwasher fill valve, take between 45 minutes and 1.5 hours. However, complex procedures like sealed-system repairs on a refrigerator can take 2–3 hours because of the need to evacuate and recharge refrigerant. The technician should give you a time estimate during the diagnostic phase. If the estimate exceeds 2 hours, ask about the specific steps involved.
Should I repair or replace my 10-year-old washing machine?
It depends on the repair cost versus the appliance’s remaining value. A general rule of thumb is to repair if the cost is less than 50% of the replacement cost. For a 10-year-old washing machine, major repairs like a new motor or transmission can cost $400–$600, while a new machine starts at $500. However, if the machine has had multiple failures in the past two years, replacement is often more economical. A technician can also evaluate the unit’s overall condition, including rust on the drum or corrosion on the control board, which are signs of deeper issues.
What causes a refrigerator to stop cooling but the freezer works fine?
This is a classic symptom of a failed evaporator fan motor or a clogged defrost drain. The evaporator fan circulates cold air from the freezer into the refrigerator section. If the fan motor seizes or the blades are blocked by ice, air stops flowing. Alternatively, if the defrost drain is clogged, water can freeze and block the fan. A technician will test the fan motor for continuity (typically 10–15 ohms) and inspect the drain for ice or debris. For a full diagnostic guide, see our refrigerator repair service page.
How often should I clean my dryer vent in Lakewood?
Given Lakewood’s high humidity and frequent use of dryers (especially during the rainy season from October to March), the National Fire Protection Association recommends cleaning the vent at least once a year. However, if you notice that clothes take longer to dry or the dryer feels hot to the touch, clean it immediately. A professional will use a rotary brush system and a vacuum to remove lint build-up, reducing fire risk and improving efficiency. For more tips, see costly mistakes to avoid with home appliance maintenance.
Is it safe to use a microwave if the door doesn’t close properly?
No. A microwave with a damaged door latch or misaligned seal can leak microwave radiation. While the risk is low with modern safety interlocks, it’s still a violation of FDA guidelines. If the door doesn’t close flush, stop using the unit immediately and call a qualified technician. The repair typically involves replacing the door switch assembly or realigning the hinges. Attempting to use the microwave with a broken latch can also cause arcing and damage the magnetron.
Professional Appliance Care in Lakewood
Maintaining the efficiency and longevity of your home’s electromechanical systems requires more than just occasional cleaning—it demands a proactive partnership with a certified technician who understands the specific challenges of Lakewood’s environment. From moisture-induced circuit board failures to mineral scale accumulation in water heaters, every home has unique vulnerabilities that a well-trained professional can identify and address before they become costly emergencies.
At Lakewood Appliance Repair, we combine over 15 years of field experience with continuous training in the latest diagnostic techniques and OEM specifications. Our technicians are EPA Section 608 certified, NASTeC certified, and fully insured. We don’t just fix the symptom; we isolate the root cause, explain our findings in plain language, and provide a clear repair plan with no hidden fees. Whether you need a washing machine repair or a dryer repair, we’re committed to restoring your appliance with the same level of care we would for our own families.
When you’re faced with a broken appliance, don’t gamble on an unqualified technician. Use the framework outlined in this guide to ask the right questions, verify certifications, and request a detailed diagnostic process. Your home’s comfort and safety depend on it. And if you’re in Lakewood, remember that the best way to know you’re choosing a trusted repair company is to see how they handle the first call—from the moment they answer the phone to the moment they leave your kitchen.