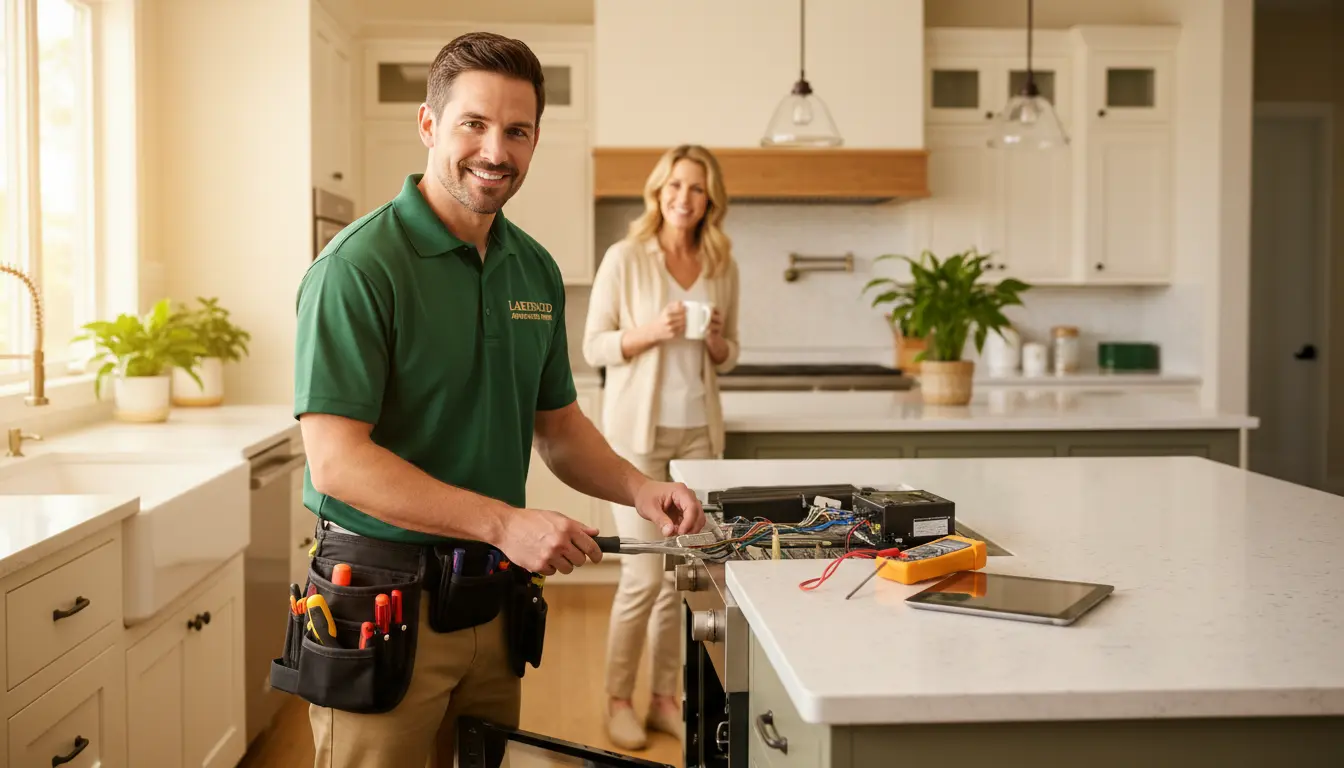
The technician’s multimeter beeped a steady tone as he touched the probes to the refrigerator’s start relay — a reading that told him the compressor was cycling on a hair-trigger, drawing nearly double its rated amperage. Outside, a steady drizzle from a Lakewood December had turned the driveway into a sheet of ice, and the homeowner’s breath fogged the window as she watched him work. That one faulty relay, if left unchecked, would have burned out the compressor entirely within a week, turning a $45 part into a $1,200 sealed-system repair.
Washington winters bring a unique set of challenges to home appliances. The constant moisture, the temperature swings, and the mineral-heavy water that runs through pipes in Pierce County all conspire to accelerate wear on components that might last years in a drier climate. For homeowners in Lakewood, understanding the best practices for maintaining appliances during Washington winters isn’t just about saving money — it’s about preventing the kind of catastrophic failure that leaves you without heat, refrigeration, or laundry capabilities when you need them most. That’s where professional, factory-certified diagnostics and preventive maintenance become not a luxury, but a necessity.
At Lakewood Appliance Repair, we’ve spent years refining our approach to the specific environmental stressors that affect appliances in this region. Our technicians are trained to spot the early warning signs of moisture ingress on control boards, scale accumulation in water valves, and thermal degradation in heating elements. By combining advanced diagnostic tools with a deep understanding of local conditions, we help homeowners extend the life of their appliances and avoid the costly disruptions that winter often brings. This article walks through the technical processes, expert insights, and practical steps that define our approach — so you can keep your home running smoothly all season long.
Technical Process: Professional Diagnostics and Repair Workflow
A proper winter maintenance inspection doesn’t start with a visual check. It begins with a systematic electrical and mechanical evaluation that isolates each subsystem. Our technicians follow a proven workflow that accounts for the high-humidity environment of the Pacific Northwest and the specific demands of Lakewood’s municipal water supply.
Step 1: Preliminary Multi-Meter Inspection
The first tool we reach for is a digital multi-meter (DMM) set to measure AC voltage, DC voltage, and resistance. We check the incoming power at the wall receptacle to ensure it’s within the 115-125V range, then move to the terminal block inside the appliance. A voltage drop of more than 3% under load signals a loose connection or undersized wiring, both of which can cause intermittent failures that are easy to miss. Next, we ohm-test the main power cord and internal wiring harnesses for continuity — a break in a ground wire, for instance, can allow stray current to damage sensitive control boards over time.
Step 2: Electronic Control Board Diagnostics
Moisture is the number one enemy of printed circuit boards in Lakewood homes. Condensation can form inside a refrigerator’s control cavity when warm, humid air meets cold surfaces, leading to corrosion on solder joints and relay contacts. We use a specialized electronic contact cleaner and a soft brush to remove any visible oxidation, then perform a voltage check at each critical junction — the compressor relay, the defrost timer, and the main power supply capacitor. If a board shows signs of thermal degradation (discoloration or cracked solder), we recommend component-level repair rather than full replacement, as it preserves the original board’s calibration and saves the homeowner significant money.
Step 3: Continuity Verification and Component Isolation
We then move to the electromechanical components: the start relay, the run capacitor, the defrost heater, and the thermistor. Each is disconnected and tested individually using the DMM’s resistance scale. A start relay that reads open (infinite resistance) when it should show a few ohms is a classic failure point that leads to compressor cycling. We also check the run capacitor’s microfarad rating against the manufacturer’s spec — a drop of more than 10% indicates internal degradation and should be replaced preemptively.
Step 4: System Flushing or Descaling
For appliances that use water — dishwashers, washing machines, and ice makers — scale accumulation is a major concern. Lakewood’s water has a moderate hardness level (around 120-150 ppm), which over time deposits calcium carbonate inside water valves, spray arms, and heating elements. We use a descaling solution specifically formulated for each appliance type, circulating it through the system for 15-20 minutes to dissolve deposits. This step alone can restore water flow, improve heating efficiency, and prevent the premature failure of solenoid valves.
Step 5: Operational Calibration
Finally, we run the appliance through a full cycle while monitoring key parameters. For a refrigerator, we check the evaporator fan speed and the condenser coil temperature; for a dryer, we measure the exhaust air temperature and airflow using an anemometer. Any deviation from the manufacturer’s specifications prompts a recalibration of the electronic control board or an adjustment of mechanical settings. This final step ensures the appliance operates at peak efficiency, reducing energy consumption and prolonging its lifespan.
Data Comparison: Component-Level Repair vs. Sub-Assembly Replacement
When a part fails, homeowners often face a choice: replace just the faulty component or swap out the entire sub-assembly. The table below compares these two approaches based on real-world service data from Lakewood Appliance Repair.
| Feature/Metric | Professional Component-Level Repair | Complete Sub-Assembly Replacement |
|---|---|---|
| Diagnostic Time | 45–60 minutes (precise isolation) | 20–30 minutes (visual identification) |
| Part Longevity | Equivalent to OEM spec (same-grade component) | Varies by manufacturer; often 80–90% of original lifespan |
| Structural Cost | Lower (e.g., $12 for a relay vs. $200 for a compressor start kit) | Higher (entire board or assembly) |
| Labor Cost | Moderate (requires skilled soldering and testing) | Lower (plug-and-play) |
| Risk of Recurrence | Low if root cause (e.g., voltage spike) is addressed | Moderate if underlying issue (e.g., moisture) remains |
Expert Insights
Over the years, we’ve developed a set of diagnostic tips that help us identify the most common winter-related issues before they cause a breakdown. Here are three advanced techniques every Lakewood homeowner should know.
Tip 1: Check Voltage Drops at the Terminal Block
A simple voltage reading at the wall outlet isn’t enough. We always measure the voltage at the appliance’s terminal block while it’s running — especially during the start-up cycle of a compressor or motor. A drop of more than 5 volts under load indicates a poor connection or undersized wiring in the circuit. This is a common issue in older Lakewood homes where the electrical panel may not have been upgraded to handle modern appliance loads. Ignoring it can cause repeated burnouts of expensive components like the compressor relay.
Tip 2: Adjust Condenser Coil Maintenance Based on Regional Dust Levels
The Pacific Northwest experiences distinct seasonal pollen and dust cycles. In the spring, tree pollen can clog refrigerator condenser coils in a matter of weeks. During winter, the combination of wet leaves and mud tracked into the kitchen can create a sticky film on the coils that traps more dust. We recommend cleaning the coils at least twice a year — once in late fall and once in early spring — using a coil brush and a vacuum with a crevice tool. For homes with pets or high traffic, a quarterly schedule is even better.
Tip 3: Test Thermal Fuses Using Resistance Scales
Dryer thermal fuses are a common failure point during winter when lint buildup increases due to heavier clothing and longer drying cycles. Instead of simply replacing the fuse and hoping it holds, we test it with a multimeter set to the resistance scale. A good fuse shows near-zero ohms; an open fuse reads infinite. But we also test the flow of exhaust air using an anemometer to ensure the vent path is clear — a blocked vent can cause the fuse to blow repeatedly, masking a dangerous fire hazard.
Common Mistakes Homeowners Make
Even well-intentioned homeowners can inadvertently cause damage. Here are three mistakes we see frequently.
- Overloading laundry drums: Stuffing a washing machine or dryer beyond its rated capacity puts excessive strain on the drum bearings and belt. In Lakewood’s humid climate, this can lead to premature bearing failure, which often requires a complete drum replacement. A load that fits loosely in the drum is the safest bet.
- Using chemical drain cleaners in dishwashers: Products like Drano contain harsh alkaline compounds that degrade the rubber seals on the circulation pump and the drain hose. Over time, the seals become brittle and crack, causing leaks that damage kitchen flooring. A simple vinegar-and-baking-soda flush is a safer alternative.
- Ignoring intermittent refrigerator clicking cycles: A refrigerator that clicks on and off every few minutes may have a failing compressor start relay or a defective run capacitor. That clicking sound is the relay trying to engage the compressor but failing because the capacitor can’t store enough charge to start the motor. If left unaddressed, the compressor itself can overheat and lock up, turning a $20 part into a $1,000 repair.
Pricing
Understanding the cost of professional appliance maintenance and repair helps you budget and make informed decisions. At Lakewood Appliance Repair, our pricing is transparent and based on the complexity of the work.
- Standard diagnostic trip fee: $89 – covers the initial inspection, testing of key components, and a written report of findings. This fee is applied to the repair cost if you choose to proceed.
- Tiered repair rates: Simple repairs (e.g., replacing a start relay or a thermal fuse) start at $145. Intermediate repairs (e.g., replacing a control board or a water valve) range from $200 to $350. Complex sealed-system repairs (e.g., compressor replacement or refrigerant recharge) start at $450 and go up based on the appliance’s brand and accessibility.
- Flat-rate structural pricing: For specific tasks like replacing a heating element in a dryer (which involves disassembling the drum and rewiring) we offer a flat rate of $275. Similarly, a dishwasher drain pump replacement is $225 flat. These fixed prices include both parts and labor, so there are no surprises.
Three factors that influence cost: premium luxury brand OEM parts (e.g., Sub-Zero or Viking components can cost 2-3 times more than standard parts); advanced electronic control module flashing (some modern appliances require software updates that add $50-$100 to the labor); and physical accessibility of custom built-in kitchen layouts (a refrigerator that is tight against cabinetry may require partial cabinet removal, increasing labor time).
Safety & Standards
Every repair we perform adheres to strict safety protocols and industry standards. Our technicians are EPA Section 608 certified (required for handling refrigerants), follow NASTeC guidelines for appliance diagnostics, and comply with OSHA electrical safety standards. We use only factory-authorized OEM replacement parts to ensure compatibility and maintain the manufacturer’s warranty.
Practical importance: Proper grounding and voltage checks prevent high-voltage short circuits that can damage control boards or cause electrical fires. For dryers, we always verify that the vent path is completely clear — a clogged vent is the leading cause of dryer fires in Washington, responsible for an estimated 15% of residential structure fires each year. By using OEM parts, we guarantee that the replacement component will perform exactly as the manufacturer intended, preserving the appliance’s energy efficiency and safety certifications.
Frequently Asked Questions
How often should I have my refrigerator’s condenser coils cleaned during winter?
We recommend cleaning the coils at least twice a year, but during winter in Lakewood, the combination of indoor humidity and tracked-in debris can accelerate dust buildup. If your refrigerator is in a high-traffic area or near a kitchen entrance, check the coils every three months. A visual inspection is easy: remove the front grille and look for a layer of dust or lint. If you see any accumulation, use a coil brush and a vacuum to clean them.
My dishwasher is leaving spots on glasses even after a full cycle. Is this a winter-related problem?
Yes, it often is. During winter, Lakewood’s water temperature can drop by several degrees as it travels from the municipal supply to your home. If your water heater is set below 120°F, the dishwasher’s heating element may struggle to raise the water temperature enough for effective cleaning and rinsing. Additionally, mineral scaling from hard water can clog the spray arms and reduce water pressure. We recommend checking your water heater temperature and, if necessary, running a descaling cycle with a commercial dishwasher cleaner. If the problem persists, a technician can test the heating element’s resistance and the water inlet valve’s flow rate.
What are the signs that my dryer vent is clogged and needs professional cleaning?
The most common sign is that clothes take much longer to dry than they used to — a typical cycle should finish in 45-60 minutes. If it’s taking 90 minutes or more, the vent is likely restricted. You may also notice that the dryer exterior feels unusually hot to the touch, or that the lint trap collects less lint than expected (because the lint is being pushed back into the drum or vent). A professional cleaning removes not only lint but also any bird nests or debris that can accumulate in winter. We use a rotary brush system and an anemometer to verify airflow improvement.
Can a washing machine’s drain pump fail due to cold weather?
Indirectly, yes. While the pump itself is inside the heated home, cold weather can cause the drain hose to freeze if it runs through an unheated crawl space or garage. A frozen hose creates back pressure that forces the pump to work against a solid block of ice, which can overload the motor or break the impeller. To prevent this, insulate any exposed drain hose with foam pipe wrap. If your washing machine is in a garage that drops below 40°F, consider moving it indoors or installing a small heater. Our technicians can also test the pump’s resistance and check for any signs of thermal stress.
Professional Appliance Care in Lakewood
Maintaining your appliances through a Washington winter doesn’t have to be a guessing game. By understanding the specific environmental stresses — moisture, mineral content, temperature swings — and applying proven diagnostic techniques, you can prevent the most common failures before they happen. Whether it’s a refrigerator that’s starting to cycle oddly, a dryer that’s taking longer to dry, or a dishwasher that’s leaving residue, early intervention is the key to avoiding expensive repairs and inconvenient breakdowns.
At Lakewood Appliance Repair, we bring factory-certified training, advanced diagnostic tools, and a deep understanding of local conditions to every service call. Our technicians treat each appliance as a unique system, not a black box. We don’t just swap parts; we diagnose the root cause and address it. If you’re experiencing any issues or just want a preventive winter checkup, we’re here to help. Contact us today to schedule a service — your appliances will thank you.