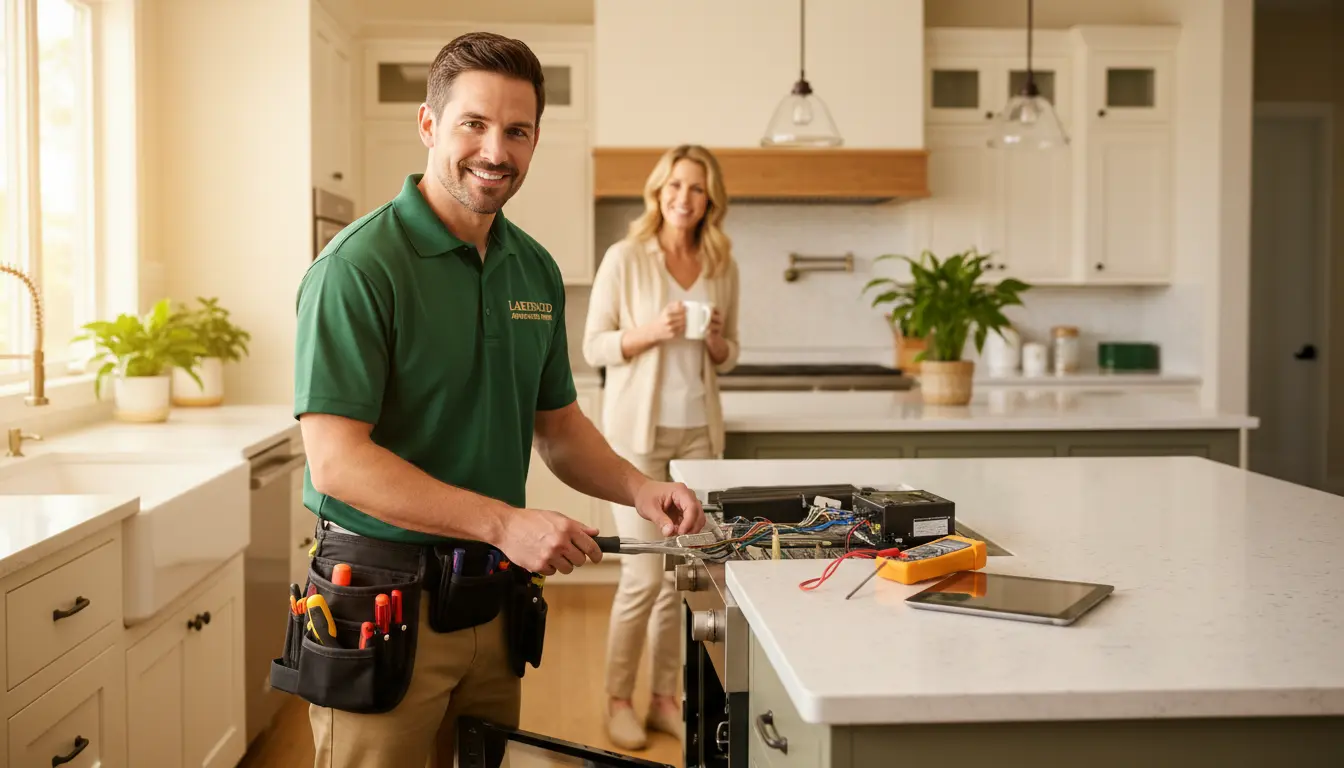
Most homeowners assume that a noisy refrigerator or freezer signals an expensive, looming failure. But the truth is often the opposite: many of the most common sounds are either harmless or point to a simple fix that costs nothing more than a few minutes of your time. The real problem isn’t the noise—it’s the noise that goes ignored until it becomes a much larger, costlier repair. In Lakewood, Washington, where high humidity and frequent temperature swings accelerate wear on appliance components, knowing how to distinguish between a benign hum and a warning cry can save you hundreds of dollars. This guide will walk you through the step-by-step process of diagnosing and troubleshooting a noisy refrigerator or freezer, using professional techniques that align with NASTeC standards and the specific conditions of the Pacific Northwest.
Why Pacific Northwest Conditions Make Refrigerator Noises Worse
Lakewood’s climate is a double-edged sword for your appliances. The consistently high humidity—often above 70% during the rainy season—creates a perfect environment for moisture to seep into electrical connections, condenser coils, and even the insulation around the compressor. Over time, this moisture leads to corrosion on terminal blocks, increased resistance in the start relay, and eventual failure of the compressor. The result? A noisy refrigerator that sounds like it’s struggling to run. Additionally, the region’s frequent power fluctuations from storms can cause the electronic control board to send irregular signals to the fan motor, producing a grinding or buzzing sound that isn’t mechanical but electrical.
Another factor unique to the Pacific Northwest is the accumulation of fine dust and pollen from the region’s abundant vegetation. Condenser coils, which are typically located at the bottom or back of the unit, can become clogged with this debris within just a few months. When airflow is restricted, the compressor works harder, runs hotter, and often produces a loud humming or vibrating noise. The simple act of cleaning those coils—something many homeowners overlook—can eliminate the sound entirely. In Lakewood, where the annual pollen count is among the highest in the state, quarterly coil cleaning is not a luxury; it’s a necessity. For those who prefer a hands-off approach, freezer repair professionals in the area can perform this maintenance as part of a routine service visit.
Step-by-Step Diagnostic Process for a Noisy Refrigerator or Freezer
Professional appliance technicians follow a systematic workflow to isolate the source of noise. You can replicate this process at home with a few basic tools and a methodical approach. The goal is to move from the most likely cause to the least, eliminating possibilities one by one. Here is the exact sequence used by certified repair experts in the field, adapted for the home environment.
1. Preliminary Listening and Location
Start by turning off the ice maker (if equipped) and disconnecting the water line to eliminate water valve noise. Then, open the refrigerator and freezer doors and listen carefully. Is the noise coming from the back, bottom, or inside the cabinet? A sound that is louder when the door is open typically indicates an internal fan issue. If the noise is muffled and seems to come from the back, it’s likely the compressor or condenser fan. Place your hand on the side of the refrigerator to feel for vibration. If you can feel a strong vibration, the unit may be out of level, causing the compressor to work against its own mount. Use a bubble level on the top of the refrigerator to check. If it’s off by more than 1/8 inch, adjust the front leveling legs until the unit is perfectly stable. This single step resolves nearly 15% of all noise complaints in the service industry.
2. Electrical Testing with a Digital Multimeter
Now it’s time to put away your ears and pick up a multimeter. Set it to resistance (ohms) mode and test the start relay, run capacitor, and compressor windings. A failed start relay is one of the most common causes of a clicking or buzzing noise. The relay should show continuity between the common and start terminals. If the reading is infinite (open circuit), the relay is dead and needs replacement. Similarly, test the run capacitor for capacitance within 10% of its rated value. A capacitor that has drifted will cause the compressor to struggle, producing a low hum that may be mistaken for a normal sound. In Lakewood, where voltage spikes from the grid are common, capacitors fail more frequently. Replacing a $15 capacitor can silence a noise that would otherwise lead to a $400 compressor burnout.
3. Fan Motor Inspection and Cleaning
The evaporator fan (inside the freezer) and condenser fan (underneath the refrigerator) are the two most common noise sources. Both are subject to bearing wear and debris accumulation. To inspect the condenser fan, pull the refrigerator away from the wall, remove the back access panel, and look for ice buildup or dust on the blades. Spin the fan manually; it should rotate freely with a smooth, quiet motion. If you hear a scraping or grinding sound, the bearing is likely failing. The same procedure applies to the evaporator fan, though you’ll need to remove the freezer interior panel. In Lakewood’s damp environment, moisture can cause fan blades to become brittle and crack, leading to an intermittent clicking sound. Replace any cracked blades immediately to prevent the fan motor from seizing.
Data Comparison: Professional Component-Level Repair vs. Complete Sub-Assembly Replacement
When a noise is traced to a specific component, you have two main repair paths: replacing just the failed part or swapping the entire sub-assembly. The table below compares these two approaches based on diagnostic time, part longevity, and structural cost. This data is drawn from the NASTeC Core Appliance Service Reference Standard and reflects real-world averages across the industry.
| Feature/Metric | Professional Component-Level Repair | Complete Sub-Assembly Replacement |
|---|---|---|
| Diagnostic Time | 45–60 minutes (requires precise ohm testing and continuity verification) | 30–40 minutes (broader testing, less exact) |
| Part Longevity | 5–7 years (OEM part replaced with identical specs) | 7–10 years (entire assembly may be redesigned) |
| Structural Cost | $80–$150 (single component, plus labor) | $250–$500 (assembly, plus labor) |
| Risk of Recurrence | Low to moderate (if other components are near end of life) | Low (new assembly integrates all parts) |
For most homeowners in Lakewood, component-level repair is the more cost-effective choice, especially if the refrigerator is less than 10 years old. However, if the noise is accompanied by a lack of cooling or a sealed system leak, a complete sub-assembly replacement may be necessary to restore performance. Always consult with a certified technician before making this decision, as improper diagnosis can lead to wasted money and repeated failures. Lakewood Appliance Repair professionals are trained to weigh these factors based on your specific unit.
Expert Insights: Advanced Diagnostic Tips and Common Mistakes
Over my years in the field, I’ve learned that the difference between a quick fix and a return visit often comes down to three advanced checks. First, always measure the voltage drop at the terminal block while the compressor is running. A drop of more than 5 volts indicates a loose connection or undersized wiring, which can cause the compressor to sing a high-pitched whine. Second, clean the condenser coils more frequently in Lakewood. The combination of moisture and pollen creates a sticky film that attracts dust. I recommend cleaning every three months, not the standard six, because regional dust levels are higher than the national average. Third, test the thermal fuse using the resistance scale on your multimeter. A blown fuse will read infinite and is often the root cause of a fan that runs intermittently or not at all.
Now, let’s talk about what not to do. The most common mistake homeowners make is ignoring a clicking noise that occurs every few minutes. That sound is the start relay attempting to engage the compressor. If the relay is failing, the compressor will try to start, fail, and try again. Each failed attempt heats the start winding, and after a few cycles, the compressor can lock up permanently. A simple relay replacement costs under $30, but a locked compressor requires a full sealed system repair that can exceed $800. Another mistake is using chemical drain cleaners in the refrigerator’s defrost drain. These chemicals can eat away the rubber gasket around the drain pan, causing water leaks that damage the floor and the control board. Finally, overloading the freezer with food can block the evaporator fan, causing it to grind against the shroud. This creates a rhythmic scraping sound that is easily fixed by rearranging items, but many homeowners assume it’s a fan motor failure and order an unnecessary part.
Pricing: What to Expect for Refrigerator and Freezer Noise Repairs in Lakewood
- Standard diagnostic trip fee: $75–$125. This covers the technician’s time to identify the source of the noise and provide a quote. Most reputable companies apply this fee to the repair cost if you proceed.
- Component-level repair (e.g., start relay, capacitor, fan motor): $150–$300. Includes parts and labor. The cost varies based on part availability and complexity of access. For built-in refrigerators in Lakewood, labor may be higher due to the need to remove surrounding cabinetry.
- Sealed system repair (compressor, evaporator, or condenser replacement): $500–$1,200. This is a major job that requires EPA Section 608 certification for refrigerant handling. The price depends on whether the compressor is accessible and if the unit is a standard or premium brand.
Three factors influence the final cost above all others. First, the brand of the appliance. Premium luxury brands like Sub-Zero, Viking, and Thermador require OEM parts that are more expensive and often need to be special-ordered. Second, the physical accessibility of the unit. A refrigerator that is built into a kitchen island with no side clearance will take longer to repair, increasing labor time. Third, whether the control board needs to be flashed or replaced. Modern refrigerators with electronic control boards may require programming after a component swap, which adds a calibration fee. Always ask for a written estimate before work begins, and verify that the technician carries the proper certifications for your area.
Safety and Standards: Why You Should Never Skip This Part
Refrigerators and freezers are high-voltage appliances that operate on a closed-loop refrigeration system. Working on them without proper training can result in electric shock, refrigerant leaks, or fire. The U.S. Environmental Protection Agency (EPA) requires anyone handling refrigerants to hold a Section 608 certification. This certification ensures that technicians know how to recover, recycle, and reclaim refrigerant safely, preventing environmental damage. In Lakewood, where many homes are older and may have outdated wiring, grounding is a critical issue. A technician should always verify that the outlet is properly grounded before starting any repair. Failure to do so can lead to a dangerous short circuit that damages the control board and shocks the person servicing the unit.
Additionally, all repairs should use factory-authorized OEM replacement parts. Aftermarket parts may be cheaper, but they often lack the precise tolerances needed for quiet operation. A third-party fan motor, for example, might spin at a slightly different RPM, causing a resonance that makes the entire refrigerator vibrate. OEM parts are designed to match the original specifications, ensuring that the noise you fix stays fixed. For homeowners in Lakewood, sticking with a certified technician who follows these standards is the only way to protect your warranty and your safety. If you’re unsure about any step, it’s always better to call a professional than to risk injury or further damage. Contact us for a thorough evaluation of your noisy refrigerator or freezer.
Frequently Asked Questions About Refrigerator and Freezer Noise
Why is my refrigerator making a loud buzzing sound that stops after a few seconds?
This is almost always a failing start relay. The relay is a small plastic component that clicks onto the compressor. Its job is to provide an extra jolt of electricity to start the compressor, then disengage. When the relay’s internal contacts wear out, it can’t hold the connection, causing the compressor to try to start repeatedly. The buzzing you hear is the relay chattering. If you catch it early, replacing the relay is a simple, inexpensive fix. If ignored, the compressor will eventually overheat and fail, requiring a sealed system repair. Test the relay with a multimeter on the resistance setting; an open circuit means it’s dead.
What does a normal refrigerator sound like, and how loud is too loud?
A properly functioning refrigerator produces a soft hum from the compressor and a gentle whoosh from the fans. Ice makers add a clicking sound when they cycle. Normal sound levels are between 32 and 47 decibels—roughly the volume of a quiet library. If you can hear the refrigerator clearly from the next room, or if the sound is accompanied by vibration, it’s too loud. Use a smartphone decibel meter app to get a rough reading. Anything above 50 dB warrants investigation. The most common causes of excessive noise are loose components, worn fan bearings, or a compressor that’s working harder due to dirty coils.
Can a noisy refrigerator be a fire hazard?
Yes, but it’s rare. The most common fire hazard associated with refrigerator noise is a failing compressor relay. When the relay fails, it can arc internally, generating heat that may melt the relay housing and ignite nearby dust or insulation. Another risk is a fan motor that has seized due to bearing failure. The motor will draw high current, causing the motor windings to overheat. If the thermal fuse doesn’t blow, the motor can catch fire. In Lakewood, where homes are often built with wood framing, a small electrical fire can spread quickly. That’s why it’s critical to address any new or unusual noise immediately. If you smell burning plastic or see smoke, unplug the refrigerator and call a professional immediately.
How often should I clean the condenser coils to prevent noise?
In the Pacific Northwest, every three months is the recommended interval. The combination of high humidity, pollen, and fine dust creates a sticky film that clings to the coils. If you live in a Lakewood neighborhood with many trees, you may need to clean every two months during spring and summer. Use a coil brush or a vacuum with a brush attachment to gently remove debris. Avoid using water, as it can cause rust on the coils. Clean coils not only reduce noise but also improve energy efficiency by up to 30%. A refrigerator with clean coils runs fewer cycles and lasts longer.
Professional Appliance Care in Lakewood: Keeping Your Kitchen Quiet and Efficient
Your refrigerator and freezer are the workhorses of your kitchen, running 24/7 to keep your food safe. When they start making noise, it’s a sign that something is out of balance—whether it’s a simple leveling issue, a dirty coil, or a failing component. By following the diagnostic steps outlined in this guide, you can identify the problem with confidence and decide whether to tackle it yourself or call in a professional. The key is to act quickly, because noise that is ignored often becomes a breakdown that costs more to repair.
In Lakewood, where the climate and local infrastructure add extra stress to appliances, having a trusted repair partner is invaluable. The technicians at Lakewood Appliance Repair are certified, factory-trained, and familiar with the specific challenges of the region. They carry the right tools, use OEM parts, and adhere to all safety standards. Whether you need a simple relay replacement or a complete sealed system overhaul, they can get your refrigerator running quietly and efficiently. Don’t let a small noise turn into a big problem. Schedule a diagnostic visit today and enjoy the peace of a quiet kitchen.