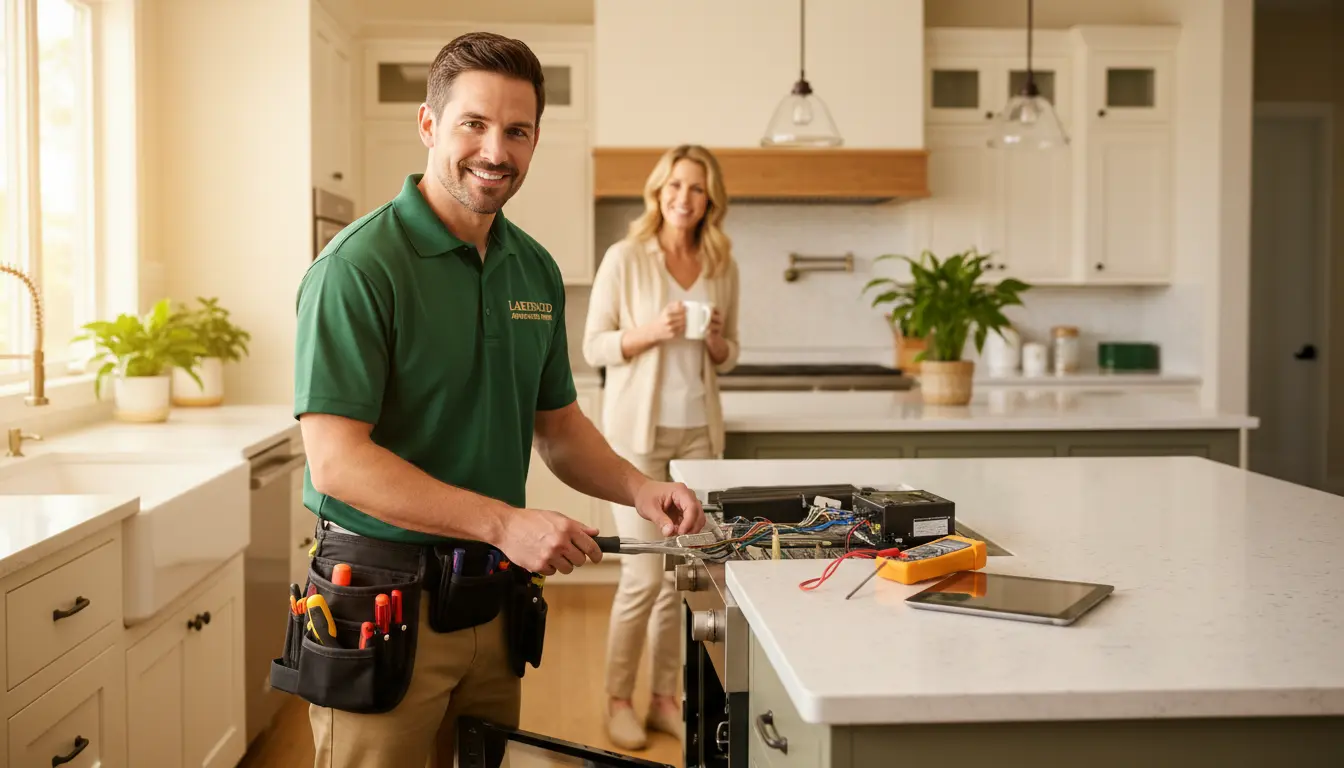
You’ve just pulled a tray of cookies out of the oven, expecting golden-brown edges and soft centers, only to find them pale and doughy. Or worse, you’ve preheated the oven for a full thirty minutes, slid in a casserole, and an hour later the center is still cold. That sinking feeling is familiar to many homeowners in Lakewood, Washington, and it often leads to a costly mistake: replacing the entire oven when a simple repair would have sufficed. The truth is, most oven temperature and heating issues are caused by a handful of predictable failures, and understanding them can save you hundreds of dollars and a ruined dinner.
Lakewood’s high-moisture Pacific Northwest environment presents a unique set of challenges for your oven. The constant humidity can accelerate the oxidation of electrical contacts and promote corrosion on control board terminals, leading to intermittent heating or erratic temperature regulation. Additionally, the mineral content in local municipal water can, over time, cause scale accumulation in steam-cleaning or self-cleaning cycles, though this is less common than simple electrical degradation. Before you call for a replacement, it pays to understand the precise diagnostics needed to troubleshoot oven temperature and heating issues effectively. This guide will walk you through the professional workflow we use at Smart Fixes Team, from the first multimeter check to the final calibration test.
The Core Diagnostic Workflow for Oven Temperature Issues
When a customer in Lakewood calls us with an oven that refuses to heat or maintains a wildly inaccurate temperature, we follow a strict, science-based process. The goal is to isolate the faulty component without guesswork, saving time and money. We begin with a visual inspection of the heating elements, looking for blisters, cracks, or hotspots that indicate thermal degradation. After that, we move to the electrical panel to perform a continuity verification on the oven’s safety devices.
Every modern oven relies on a series of safety and control components working in harmony. The temperature sensor, often a thermistor or a capillary bulb, sends a resistance reading to the electronic control board (ECB). The ECB then switches power to the bake or broil element. If any part of this closed-loop system fails, the oven either won’t heat, will overheat, or will maintain a temperature far from the set point. Local conditions, such as the high humidity we experience in Pierce County, can cause moisture-induced circuit board failure by corroding solder joints or shorting traces on the ECB. This is why we always inspect the control board before assuming the heating element is at fault.
Tools Every DIY Troubleshooter Should Own
To properly diagnose an oven, you need a digital multimeter (DMM) capable of measuring resistance (ohms) and continuity. A clamp-on ammeter is also helpful for checking current draw on the heating elements without disconnecting wires. For gas ovens, a manifold gauge set is necessary to verify proper gas pressure, though this is best left to professionals. These tools allow you to perform ohm testing on components like the bake element, broil element, temperature sensor, and thermal fuse. A reading outside the manufacturer’s specified resistance range indicates a failed part.
For example, a typical bake element in an electric oven should show a resistance between 20 and 40 ohms, depending on the model. If your multimeter shows infinite resistance (an open circuit), the element is burned out and must be replaced. Similarly, the temperature sensor (thermistor) should read a specific resistance at room temperature, often around 1100 ohms for a 32°F reference. If the reading is off by more than 10%, the sensor is drifting and will cause inaccurate temperatures. We always recommend using factory-authorized OEM replacement parts to maintain warranty compliance and ensure proper thermal characteristics.
Step-by-Step Troubleshooting for Common Oven Failures
Now, let’s walk through the five most common failure modes that cause temperature and heating problems. We’ll cover the symptoms, the likely culprits, and the exact diagnostic steps to confirm the issue. Remember, safety first: always disconnect power at the circuit breaker before accessing live electrical components. Many Lakewood homeowners have learned this the hard way after a painful shock.
The first and most obvious symptom is an oven that won’t heat at all. If the bake and broil elements remain cold after preheating, the problem is likely a failed heating element, a blown thermal fuse, or a dead control board. Start by checking the thermal fuse located near the oven’s back panel. Using your multimeter on the continuity setting, touch the probes to the fuse terminals. If there is no continuity, the fuse is blown and must be replaced. Common causes of a blown thermal fuse include a locked oven door during self-clean cycles or a shorted element that causes excessive heat.
Inconsistent Temperature: The Most Frustrating Issue
If your oven heats but the internal temperature swings wildly, you are dealing with a troubled temperature sensor or control board. A drifting sensor sends incorrect resistance values to the ECB, causing the element to stay on too long or shut off too early. To test the sensor, unplug the oven, locate the sensor probe inside the oven cavity (usually at the top or back), and measure its resistance. Compare it to the chart in your owner’s manual. A common replacement sensor for many ovens has a resistance of 1090 ohms at 70°F. If your reading is off by more than 50 ohms, replace the sensor.
Another cause of temperature fluctuation is a failing bake element that has developed a weak spot. Even if it appears intact, a section of the element can have higher resistance, causing it to heat unevenly. This leads to hot spots and temperature oscillation. We recommend performing a visual inspection and an ohm test on the element. If the resistance is within spec but the element glows unevenly, replace it anyway. This is a classic case where thermal degradation is invisible to the naked eye but detected by the multimeter.
Oven Overheating: A Fire Hazard
An oven that runs much hotter than the set temperature is a serious safety concern. This is almost always caused by a shorted temperature sensor or a stuck relay on the control board. When the sensor fails, it may send a constant low-resistance signal, tricking the board into thinking the oven is cold, so it keeps power applied to the elements. To diagnose, remove the sensor and measure its resistance. If it reads near zero ohms, it is shorted and must be replaced. If the sensor tests good, the problem is likely the control board relay, which requires professional replacement.
In Lakewood, where humidity is high, relay contacts can become pitted or welded shut due to corrosion and arcing. This is a component-level repair that involves desoldering the old relay and installing a new one. Many homeowners try to replace the entire control board, which is expensive. At Smart Fixes Team, we often perform professional component-level repair on these boards, saving our customers a significant amount of money. If you are not comfortable working with circuit boards, it is best to call a certified technician to handle this safely.
| Feature/Metric | Professional Component-Level Repair | Complete Sub-Assembly Replacement |
|---|---|---|
| Diagnostic Time | 45–60 minutes (includes board inspection and component isolation) | 30 minutes (simple board swap) |
| Part Longevity | 5–10 years (original board quality, only failed component replaced) | 3–7 years (new board may have updated firmware) |
| Structural Cost | $150–$250 (labor plus component cost) | $300–$600 (board cost plus labor) |
| Environmental Impact | Low (one small component discarded) | High (entire board discarded, e-waste) |
| Skill Level Required | Advanced (soldering, schematic reading) | Moderate (plug-and-play) |
Expert Diagnostic Tips from a Certified Technician
Over the years, I have developed a few advanced diagnostic tricks that save time and improve accuracy. First, when checking voltage drops at the terminal block, always measure the voltage under load. A loose connection may show 240V when the oven is off but drop to 210V when the element is energized. This indicates a high-resistance connection that causes slow heating and eventual failure. Second, in Lakewood’s humid climate, we recommend checking the condenser coil maintenance schedule for refrigerators, but for ovens, pay attention to the oven vent. A blocked vent can cause temperature spikes and poor baking results.
Third, when testing thermal fuses, use the resistance scale instead of the continuity buzzer. A continuity beep can sometimes be fooled by a high-resistance path, but a resistance reading of less than 1 ohm confirms a good fuse. This is especially important in gas ovens where the thermal fuse is part of the safety circuit. Fourth, if you suspect a control board issue, look for bulging capacitors or burn marks on the board. These are visible signs of failure that confirm the board needs repair or replacement.
Common mistakes homeowners make include overloading the oven with heavy pans that block airflow, which can cause uneven heating. Another mistake is using chemical drain cleaners in dishwashers, but for ovens, the biggest error is ignoring the self-clean cycle’s warnings. Running a self-clean cycle with a locked door can blow the thermal fuse, requiring a costly repair. We have seen many Lakewood residents who tried to reset their oven by unplugging it, only to find the fuse was already blown. A simple continuity check would have saved them the trouble.
Pricing Structure for Oven Repairs in Lakewood
- Standard Diagnostic Trip Fee: $75–$125, which covers the initial visit, visual inspection, and basic testing with a multimeter. This fee is applied to the repair cost if you proceed with the work.
- Heating Element Replacement: $150–$300, including the cost of the OEM bake or broil element and labor. Prices may be higher for premium brands like Wolf or Viking due to part sourcing.
- Temperature Sensor Replacement: $120–$200, which includes the sensor and calibration verification. This is a common and affordable fix for temperature fluctuation.
- Control Board Repair (Component-Level): $200–$350, which is often half the cost of a full board replacement. This requires advanced soldering skills and diagnostic equipment.
Safety Standards and Certifications
When performing any oven repair, safety is paramount. We strictly follow EPA Section 608 guidelines for refrigerant handling (applicable to some dual-fuel ovens with cooling systems). Our technicians are NASTeC certified and adhere to OSHA electrical safety protocols. This includes locking out the circuit breaker, using insulated tools, and verifying that the oven is properly grounded. Failure to ground an oven can result in a high-voltage electrical short circuit that poses a lethal risk to the homeowner.
We also stress the importance of using factory-authorized OEM replacement parts. Aftermarket parts may not meet the exact thermal specifications, leading to premature failure or even fire hazards. For example, a generic bake element might have a slightly different resistance, causing the control board to overcompensate and overheat the element. This is a real risk we have seen in Lakewood homes. By using OEM parts and following manufacturer service manuals, we maintain warranty compliance and ensure the oven operates safely for years to come.
Frequently Asked Questions About Oven Temperature Issues
Why is my oven temperature inaccurate even after I replaced the heating element?
A new heating element will not fix a temperature reading problem because the element is just a resistive load. The temperature sensor and control board are what determine how long the element stays on. If your oven is still inaccurate after replacing the element, test the temperature sensor with a multimeter. A drifting sensor is the most common cause of persistent temperature inaccuracy. Also, check the oven calibration settings in the user menu, as some models allow you to offset the temperature by up to 35°F.
Can a blown thermal fuse cause the oven not to heat at all?
Yes, a blown thermal fuse is one of the most common reasons an oven will not heat. The thermal fuse is a safety device that opens the circuit if the oven overheats. It is a one-time-use component and must be replaced after it blows. To test it, use a multimeter on the continuity setting. If you get no continuity, the fuse is blown. Common causes include a locked door during a self-clean cycle or a shorted heating element. Always replace the fuse with an exact OEM match to ensure proper safety ratings.
How do I test the oven temperature sensor with a multimeter?
First, unplug the oven or turn off the circuit breaker. Locate the temperature sensor probe inside the oven cavity, usually mounted at the top or back. Disconnect the wire connector from the sensor. Set your multimeter to the resistance (ohms) setting. Touch the probes to the two sensor terminals. A typical sensor at room temperature (70°F) should read around 1090 ohms. If you heat the sensor with a hair dryer, the resistance should decrease smoothly. If the reading is open (infinite) or shorted (near zero), the sensor is bad and must be replaced.
Is it safe to replace an oven control board myself?
Replacing an oven control board is a moderate-level DIY task if you have experience with electrical work. You need to disconnect power, remove the back panel, unplug the old board, and install the new one. However, there are risks. Incorrect installation can cause a short circuit, damage the new board, or create a fire hazard. Additionally, some newer boards require firmware flashing to match your specific model. If you are not comfortable working with live circuits or reading schematic diagrams, it is best to hire a certified technician. We at Smart Fixes Team can complete this replacement safely and efficiently.
Professional Appliance Care in Lakewood
Maintaining your oven is about more than just fixing a broken part; it is about ensuring the entire electromechanical system operates efficiently and safely. In Lakewood, where humidity and mineral content can accelerate wear, regular professional inspections are a wise investment. Whether you need a simple heating element replacement or a complex control board diagnosis, understanding how to troubleshoot oven temperature and heating issues empowers you to make informed decisions about your appliance care.
At Smart Fixes Team, we combine factory-certified training with deep knowledge of local conditions. We serve the entire Pierce County area, including Lakewood, Tacoma, Puyallup, and Olympia. Our technicians arrive with the right tools and OEM parts, ready to diagnose and repair your oven on the first visit. If you are experiencing uneven baking, long preheat times, or a completely dead oven, do not let the problem ruin another meal. Contact us today to schedule a diagnostic appointment and get your kitchen back to full performance.